Why Caulk Fails Before It Should
Caulk is one of the simplest materials in home maintenance - a flexible sealant pressed into joints to block water, drafts, and pests. Yet it's also one of the most frequently redone repairs in American homes. Peeling seams in a shower, cracked beads around a window frame, or mold blooming along a tub edge are all signs of a caulk job that didn't hold.
The good news: most caulk failures are preventable. They come down to a predictable set of mistakes made before, during, or just after application. Understanding those errors - and what drives them - is all you need to get a seal that actually lasts.
80%
Of caulk failures tied to prep
Industry estimates from professional contractors suggest the vast majority of premature caulk failures trace back to inadequate surface preparation rather than product quality.
24-48 hrs
Minimum cure time for silicone caulk
Most silicone caulk manufacturers specify a full cure window of 24 to 48 hours before water exposure, though surface skin forms much sooner.
1-5 yrs
Typical lifespan of poorly applied caulk
Caulk applied without proper prep or in the wrong environment can fail in as little as one year; correctly applied silicone caulk in low-movement joints may last a decade or more.
The Most Common Caulk Mistakes (and How to Avoid Them)
These are the errors that cause the majority of failed caulk jobs in kitchens, bathrooms, and around window and door trim. Each one is avoidable with a small adjustment to approach or timing.
Skipping removal of old caulk before applying a fresh layer.
Why it happens: Applying new caulk over old feels faster and avoids the tedious scraping step, especially when the existing caulk looks mostly intact.
Using the wrong type of caulk for the environment.
Why it happens: Caulk is often treated as a universal product, but hardware store shelves stock many formulations with very different performance characteristics.
Applying caulk to a wet, dirty, or dusty surface.
Why it happens: Homeowners often caulk immediately after cleaning, not realizing the surface needs time to fully dry, or they skip surface cleaning altogether.
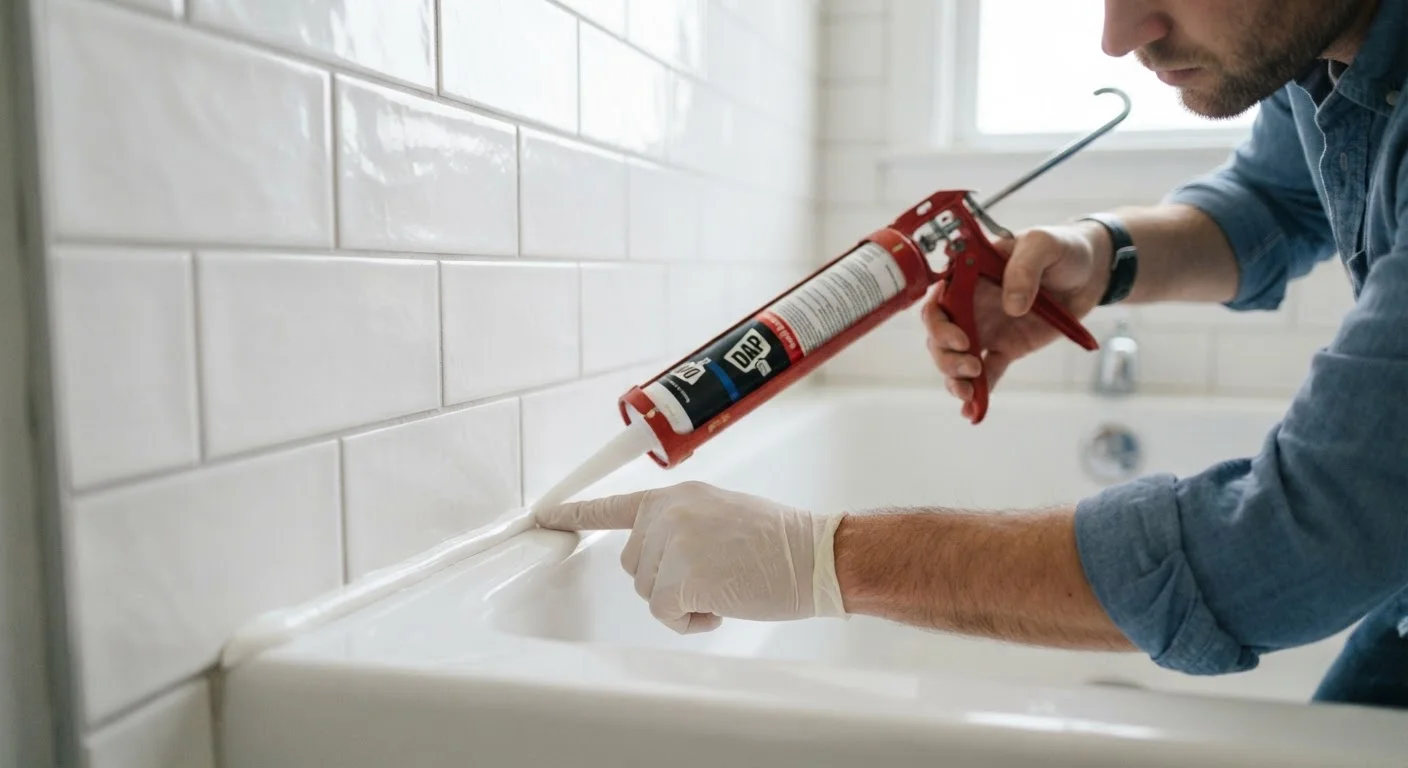
Cutting the caulk tube nozzle too wide, creating an oversized bead.
Why it happens: A wider opening seems like it will fill gaps faster, but it results in an unmanageable amount of material that's difficult to tool neatly.
Not tooling (smoothing) the caulk bead after application.
Why it happens: Many DIYers assume the caulk looks fine straight from the gun and skip the smoothing step to save time.
Caulking a joint that moves too much for caulk to handle.
Why it happens: Caulk is flexible, but it has limits. Expansion gaps around large tiles, structural cracks, or wood that swells seasonally can exceed what any caulk can accommodate.
Wet Surfaces Will Ruin Any Caulk Job
Caulk bonds to dry surfaces only. Even a thin film of moisture from steam, condensation, or an incompletely dried tub surround will prevent proper adhesion. Before applying any caulk in a bathroom or kitchen, allow the area to dry for at least 24 hours with ventilation, and consider running a fan or dehumidifier to speed the process.
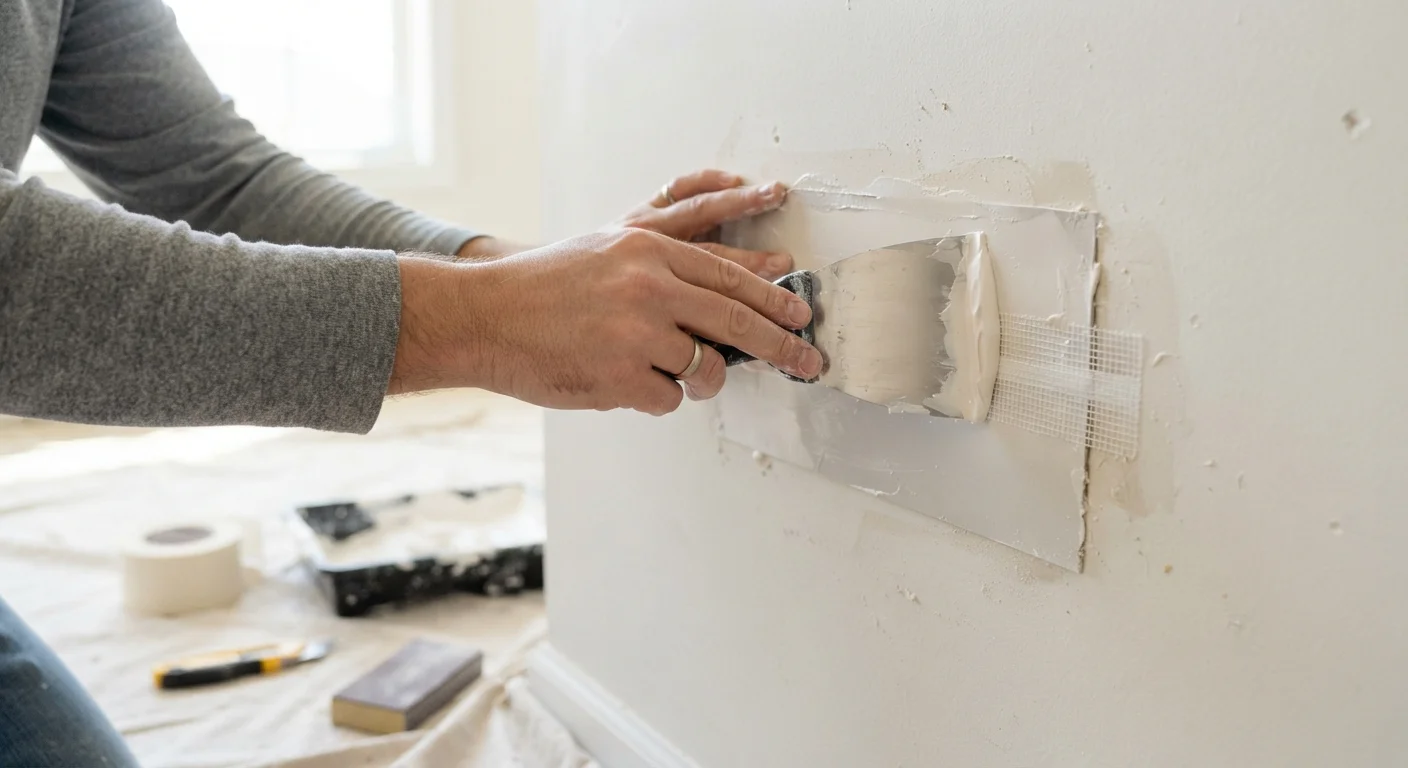
Surface preparation is the theme running through nearly every mistake on this list. Just as with other repair work - whether you're filling nail holes or tackling something more involved like patching drywall - the prep work determines whether the repair holds or has to be redone in a year.
Getting It Right: A Quick Checklist Before You Squeeze the Trigger
Before starting any caulking job, run through these fundamentals:
- Remove all old caulk - use a caulk remover tool, utility knife, or commercial caulk softener product. Take your time; residue left behind will compromise the new seal.
- Clean and dry the surface - wipe with isopropyl alcohol or a mildew-killing cleaner, then allow to dry thoroughly. Do not rush this step.
- Match the caulk to the job - silicone for wet areas, paintable acrylic-latex for trim, exterior-rated formula for outdoor joints.
- Cut the nozzle small - aim for a bead that matches the joint width, not one that overfills it.
- Tool immediately - smooth the bead within two to three minutes of application before a skin begins to form.
- Respect the cure window - keep the area dry for the full cure period listed on your product's label.
Don't Skip the Cure Time
Most silicone caulks require 24 to 48 hours to cure fully before water contact. Using a shower or tub before the caulk has cured - even if it feels dry to the touch - can cause the bead to lift, wrinkle, or detach entirely. Check the manufacturer's label for the specific cure window and plan accordingly.
Caulking done right is one of the highest-return maintenance tasks a homeowner can do - protecting against water intrusion, energy loss, and mold for years at a time. A little patience in prep translates directly to longevity in the finished joint.