Understanding What You're Working With
Drywall - also called gypsum board or sheetrock - is made of a gypsum plaster core sandwiched between two layers of paper. Its strength comes from the paper facing; once that's torn or the core is punctured, the surrounding area loses integrity and can crumble further if not repaired correctly. Understanding this helps explain why the repair process focuses so heavily on reinforcing the area before filling it.
Holes form for many common reasons: doorknobs punching through walls, fasteners that never anchored properly, accidental impact, or water damage that weakened the core. Each scenario may require a slightly different preparation approach, but the underlying repair method scales predictably by hole size.
If you're renting, review your lease before beginning. Many landlords require professional repairs or prior approval. Our guide to decorating in rental spaces covers what renters are generally permitted to do and what to document to protect your security deposit.
What you will need
Tools and Materials You'll Need
Having the right tools assembled before you start prevents mid-project trips to the hardware store - which usually means compound drying on your knife. The materials needed scale with hole size, but the core toolkit stays consistent.
Taping knives (4-inch and 10-inch)
Used to apply and feather joint compound smoothly over patches of varying sizes.
Self-adhesive mesh patch kit
Provides a ready-made backing for holes between one and six inches in diameter.
Drywall saw or utility knife
Cuts drywall cleanly when squaring up large, irregular holes.
Stud finder with AC detection
Locates studs and warns of hidden electrical wires before cutting into walls.
Sanding sponge (fine grit)
Smooths dried compound without gouging - especially useful in tight corners.
Texture spray or brush
Re-creates existing wall texture (orange peel, knockdown, etc.) over the finished patch.
Check for Wiring and Plumbing First
Before cutting into any wall, use a stud finder with an AC detection mode or an inexpensive voltage tester to scan for live electrical wires or pipes behind the drywall. Cutting into a live wire or water line is a serious hazard. If you have any doubt about what's behind the wall, consult a licensed electrician or plumber before proceeding.
Step-by-Step Repair Instructions
Follow these steps in order. Rushing any phase - especially drying time between coats - is the most common reason patches crack or remain visible under paint.
Assess and size up the damage
Classify the hole before gathering materials. Use these rough categories:
- Nail holes and small dings (under ½ inch): Spackle only, no tape needed.
- Medium holes (½ inch to 6 inches): Self-adhesive mesh patch plus joint compound.
- Large holes (over 6 inches): Cut a clean rectangle, install backing boards, and screw in a replacement drywall piece.
Also check whether the damaged area is near a stud - if so, you can often anchor repair material directly to it without adding separate backing.
Prepare the damaged area
Remove any loose paper facing, crumbling gypsum, or protruding fasteners around the hole. For large holes, use a drywall saw or utility knife to cut a clean, square or rectangular opening - irregular edges are harder to patch invisibly. Vacuum out dust and debris from inside the wall cavity.
Install backing (large holes only)
For openings larger than 6 inches with no adjacent stud, cut two wood furring strips or use purpose-made metal backer clips. Insert each strip vertically inside the wall cavity so it spans the top and bottom of the opening, then drive drywall screws through the existing drywall and into the strips to secure them. Cut your replacement drywall piece to fit snugly in the opening and screw it to the backing. The patch surface should sit flush - not proud - of the surrounding wall.
Tape the seams
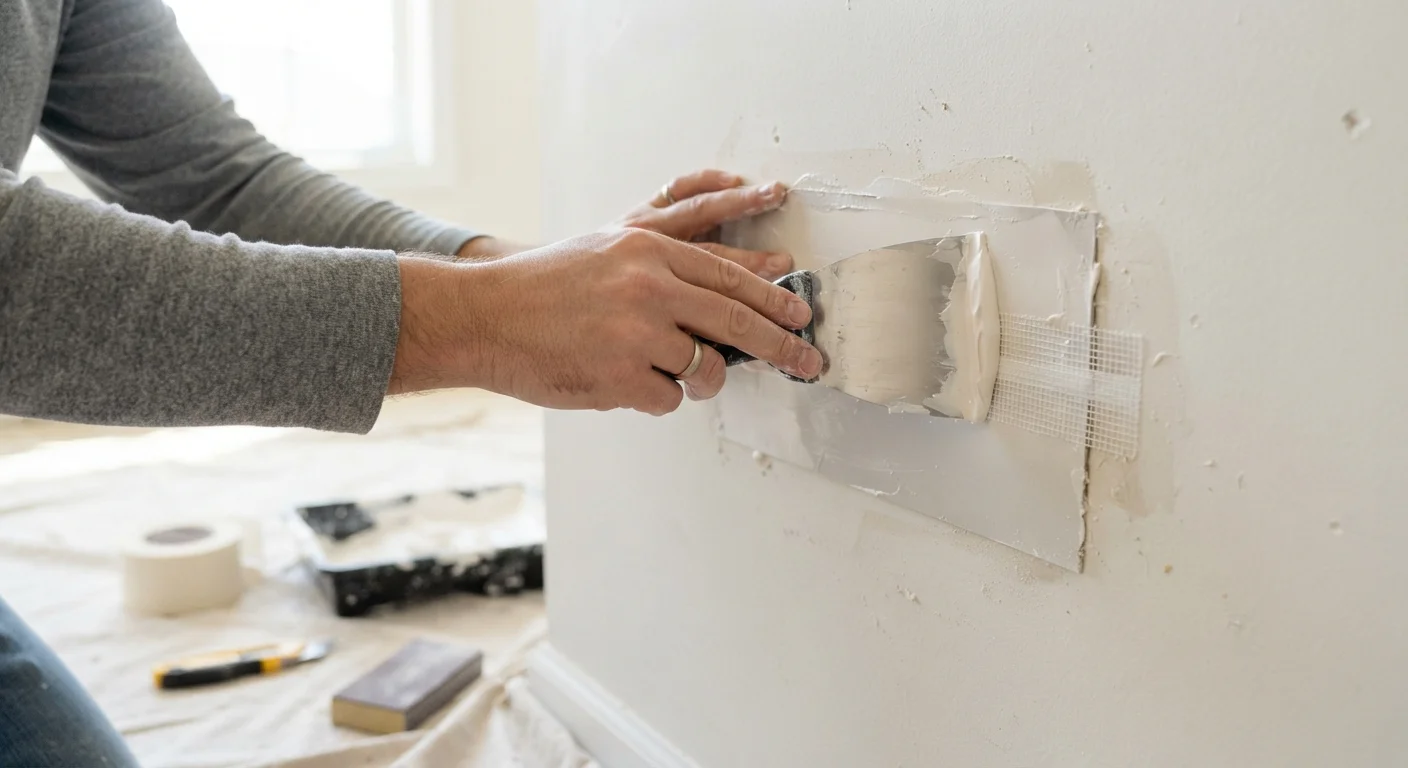
For mesh patch kits, the adhesive backing handles this automatically. For cut-in replacement pieces, apply a thin layer of joint compound over each seam, press paper drywall tape into it, and smooth with your 4-inch knife. Fiberglass mesh tape can also be used, but it requires slightly more compound to fill the weave. Allow the first coat to dry completely - typically several hours depending on temperature and humidity.
Apply joint compound in thin coats
Apply a second, wider coat of compound using your 8- to 10-inch knife, extending it a few inches past the tape edges. Let dry, then apply a third finishing coat even wider, feathering the edges to blend into the surrounding wall. Three coats is the standard; rushing by applying thick coats causes cracking as the compound shrinks when drying.
[tip_callout]Sand, prime, and texture
Once the final coat is fully dry and hard to the touch, sand lightly with a fine-grit sanding sponge. The goal is a smooth surface, not removing all compound - oversanding exposes the tape. Wipe down with a barely damp cloth. Apply drywall primer before any paint; skipping primer causes the patched area to absorb paint differently and appear as a dull spot. If the surrounding wall has texture (orange peel, knockdown, or skip trowel), replicate it now before priming - practice the technique on cardboard first to match the pattern and density.
Drywall Dust Is a Respiratory Irritant
Sanding drywall compound generates fine silica-containing dust. Always wear an N95 or better respirator mask - not just a dust mask - and ensure the room is ventilated. Keep children and pets out of the work area until surfaces have been wiped down and dust has settled.
Troubleshooting Common Problems
The patch is cracking as it dries
Cracking almost always means the compound was applied too thick in a single coat. Let it dry fully, sand lightly to remove any raised edges, and apply a thin skim coat over the cracked area. Don't try to re-wet or re-work wet compound once it has begun to set.
The seam is still visible after painting
A visible ridge typically means the feathering wasn't wide enough. Sand the ridged boundary down and apply one more wide, thin coat. If the seam appears as a shadow rather than a ridge, the problem is usually inadequate priming - the patched area absorbed the first coat, leaving a sheen difference. A second primer coat usually resolves this.
Texture doesn't match
Wall textures vary widely - even within the same house - because applicators change technique over time. Orange-peel texture can be approximated with a spray can, while knockdown texture requires a brush or sponge and some practice. Matching is a skill; expect to spend time on cardboard before committing to the wall. If the mismatch is severe, consider re-texturing the entire wall panel from corner to corner for a uniform appearance. The same patience that applies to texture work applies to other surface finishing tasks - our guide on why caulk fails explores a similar theme of surface prep being the difference between results that last and results that don't.