What Each Material Is Actually Designed to Do
Grout is a cementitious (or epoxy-based) filler designed to lock adjacent tiles together, resist abrasion, and prevent debris from settling between them. Once cured, it is essentially rigid - which is exactly what you want when two tiles on the same flat surface need to stay put relative to each other.
Caulk is a flexible sealant, typically silicone or sanded acrylic latex. Its elasticity allows it to compress and expand slightly as building materials shift with temperature and humidity changes. That movement capacity is the whole point: caulk can accommodate stress that would fracture rigid grout.
Understanding this mechanical difference - rigid vs. flexible - is the foundation for every decision that follows. It is not about aesthetics or ease of application; it is about matching material properties to the physical forces at play in each joint location.
Quick Rule to Remember
Ask yourself: do these two surfaces move as one unit, or could they move independently? If they move as one - same material, same plane - grout is correct. If there is any chance of differential movement, caulk is the right call. When in doubt about a specific installation, refer to the TCNA Handbook or consult a licensed tile installer.
Where Grout Belongs
Grout is the correct choice for joints between tiles that share the same plane - meaning tiles laid side by side on a wall or across a floor. These joints experience minimal differential movement, so rigidity is an asset rather than a liability.
- Floor tile fields: All field joints between tiles, whether 1/16-inch mosaic gaps or 3/8-inch rustic joints.
- Wall tile fields: Every joint between tiles on the same vertical surface.
- Backsplash grids: Joints within a backsplash field, as long as the backsplash does not abut a countertop directly (that junction needs caulk).
Grout comes in sanded and unsanded varieties. As a general guide, sanded grout is used for joints wider than 1/8 inch; unsanded for narrower joints where the sand particles would be too coarse to pack properly. Epoxy grout offers stain resistance and is commonly specified for commercial applications or countertop installations.
| Grout | Caulk | |
|---|---|---|
| Flexibility | Rigid once cured | Remains flexible |
| Best joint location | Same-plane tile-to-tile joints | Change-of-plane and transition joints |
| Water resistance | Moderate; requires sealing | High (silicone); excellent in wet areas |
| Durability in corners | Cracks with movement | Absorbs movement without cracking |
| Color matching | Wide color range | Sanded colors available to match grout |
| Application skill required | Moderate mixing and timing | Low to moderate; needs clean surface |
Where Caulk Is Required
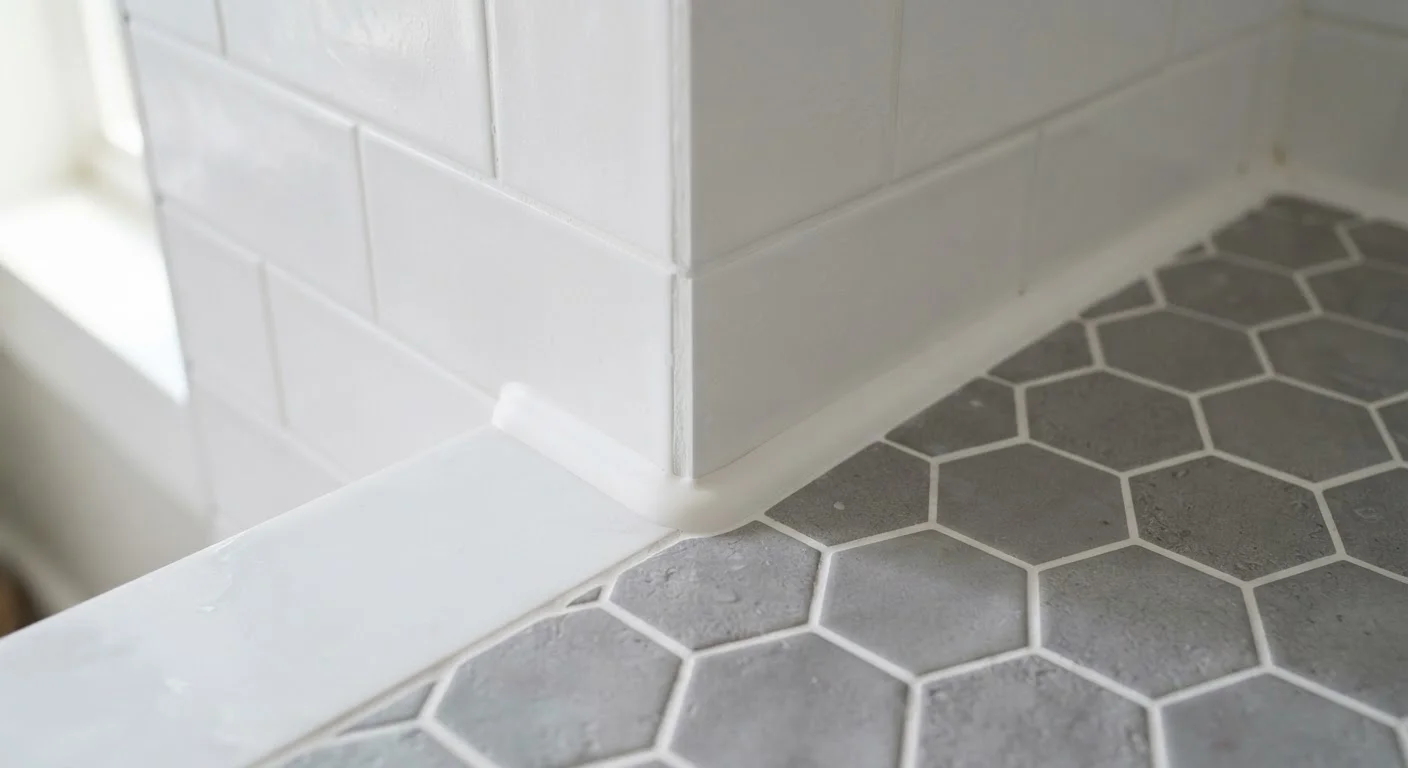
The Tile Council of North America (TCNA) - the industry body that sets installation standards - specifies that any "change-of-plane" joint must be filled with a flexible sealant rather than grout. This is not a stylistic preference; it reflects the reality that two surfaces joined at an angle move independently of each other.
- Wall-to-floor corners: The inside corner where wall tile meets floor tile is subject to constant differential movement. Grout here will crack, often within the first year.
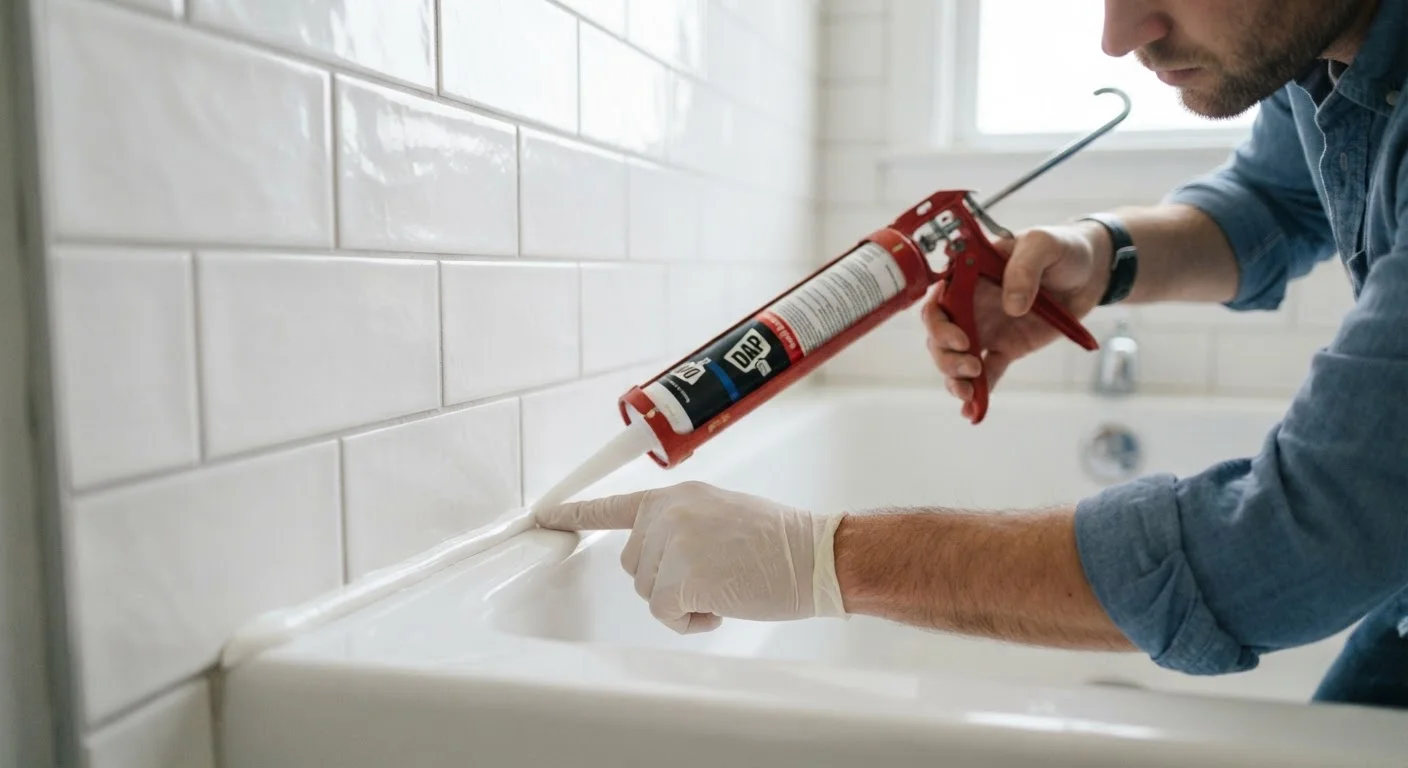
- Tub and shower pan perimeters: The joint between wall tile and a tub deck or shower pan is especially vulnerable to water infiltration. Silicone caulk is the appropriate material - it bonds to both ceramic and acrylic surfaces and remains watertight under repeated wet-dry cycles.
- Tile-to-countertop transitions: Where a backsplash tile meets a countertop surface, caulk absorbs the micro-movement each material experiences separately.
- Expansion joints in large installations: Any field larger than roughly 12 feet may need intermediate expansion joints filled with caulk to prevent buckling.
For a cohesive look, manufacturers produce sanded caulk in colors matched to popular grout lines, so the visual difference is negligible once the installation is complete.
If your caulk has previously failed in one of these locations, our article on why caulk fails and how to apply it correctly walks through the most common causes and proven solutions.
The Most Common Mistakes - and How to Avoid Them
The single most frequent error in DIY tile work is grouting inside corners. It looks fine for a few months, then hairline cracks appear, water gets behind the tile, and mold or substrate damage follows. Removing failed grout from a corner and replacing it with caulk is a tedious repair that is entirely preventable.
A second common mistake is using standard interior paintable caulk in wet areas. Paintable acrylic caulk is not designed for prolonged water exposure. In showers, tubs, or around sinks, use a 100% silicone or a specifically labeled kitchen-and-bath caulk that resists mold and mildew.
Never Caulk Over Existing Grout
Applying caulk on top of grout in a corner will not bond properly and will peel within months. The grout must be fully removed - using an oscillating tool or grout saw - before caulk is applied. Ensure the joint is completely dry before applying any sealant, as moisture trapped beneath caulk can promote mold growth and adhesion failure.
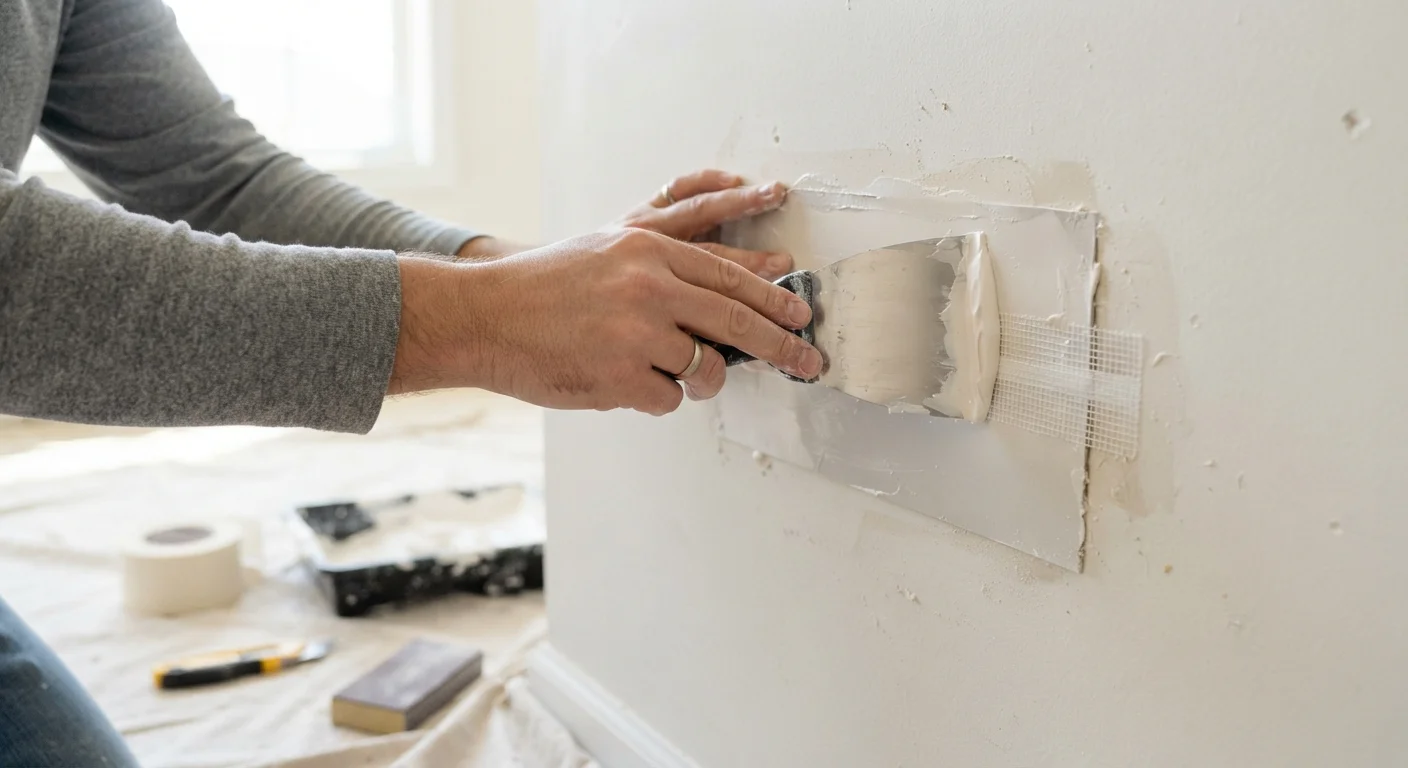
Finally, applying caulk over grout - rather than removing the grout first - creates a bond that will fail quickly. The surface must be clean, dry, and free of old grout or caulk before a new bead is applied. For general surface-prep and patching skills that translate across home improvement tasks, see our guide on patching and repairing damaged surfaces.