Why Planning Order Matters More Than Budget
Most kitchen renovation setbacks aren't caused by insufficient funds - they're caused by decisions made in the wrong order. Ordering appliances before confirming cabinet dimensions, scheduling a painter before rough plumbing is inspected, or choosing tile before knowing the subfloor condition: each misstep can generate costly rework that a clear planning sequence prevents.
This framework treats your kitchen as a system of interdependent zones - plumbing, electrical, structural, mechanical, and finish surfaces - rather than a list of independent purchases. Working through that system in the right order is what separates a renovation that comes in close to budget from one that spirals. For a complementary lens on how function should drive your spatial choices, see our room-by-room organization guide.
~35%
Renovations with hidden structural or mechanical issues
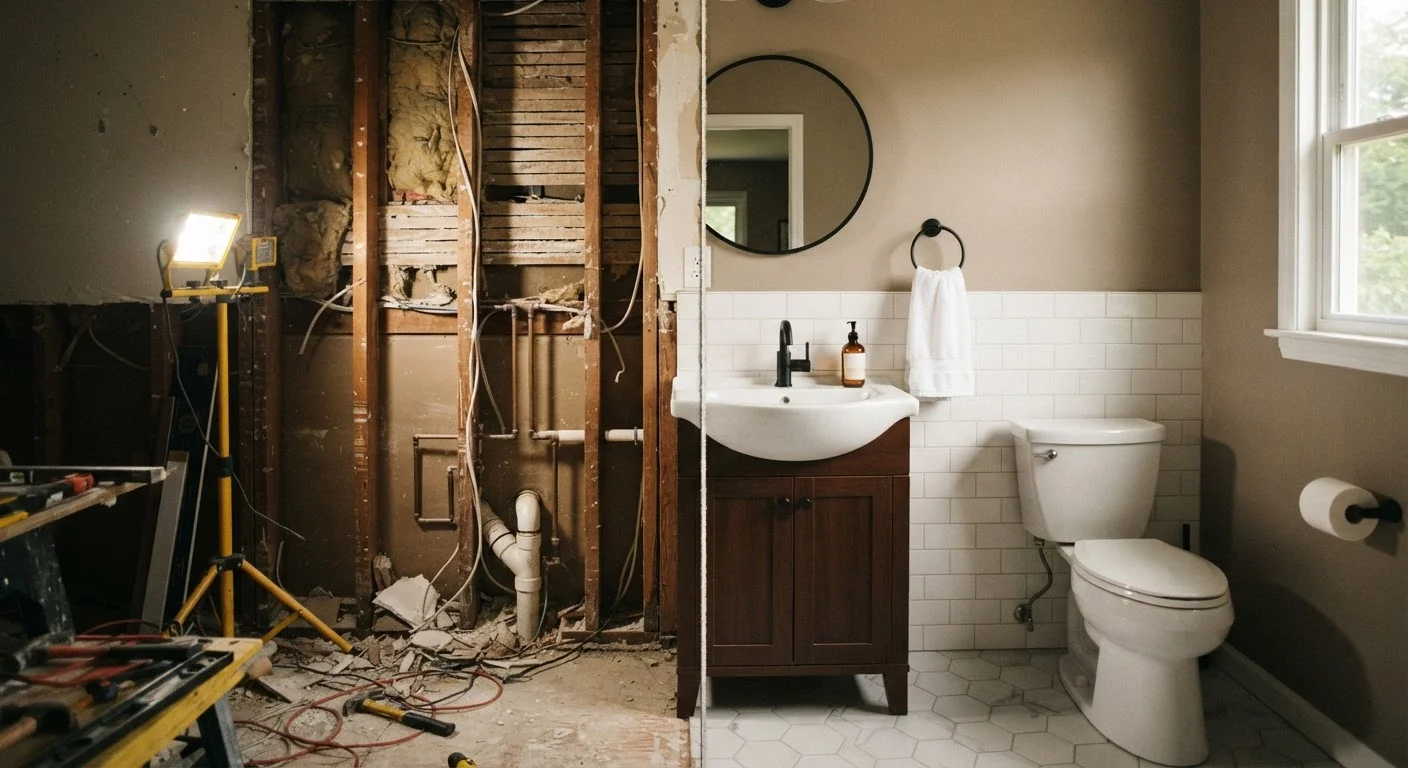
Industry estimates suggest roughly one in three kitchen gut renovations uncovers a hidden condition - such as water damage, outdated wiring, or subfloor deterioration - once demolition begins.
15-20%
Recommended contingency above estimated project cost
Home improvement professionals commonly recommend reserving this buffer specifically for mid-to-large renovation projects where wall cavities or floors will be opened.
Step 1: Define Your Scope Before Touching Anything
Scope creep is the single most common driver of overruns in home renovation. Before a cabinet is removed or a contractor is called, document exactly what you intend to change and - equally important - what you intend to leave untouched.
Three Scope Categories
- Cosmetic refresh: New hardware, paint, lighting fixtures, or resurfaced cabinet doors. No structural or mechanical changes. Minimal permit exposure.
- Partial renovation: Replacing cabinets, countertops, or appliances within the existing footprint. May involve limited electrical or plumbing modifications.
- Full gut renovation: Reconfiguring the layout, moving walls, relocating plumbing stacks, or upgrading the electrical panel. Always involves permits and licensed trades.
Write a one-page scope statement listing every element you plan to change, the existing condition of each, and your target outcome. This document becomes the reference point for every contractor quote and purchasing decision that follows.
Write your scope statement as if you're explaining the project to someone who has never seen your kitchen. Vague descriptions - 'update the cabinets' - lead to vague (and wildly varying) contractor quotes.
Specificity in scope documentation is directly correlated with more accurate bids and fewer change orders, which are the primary driver of budget overruns.
When evaluating contractor quotes, ask each bidder to identify the two most likely hidden conditions they'd expect to find in a kitchen of your home's age and construction type. Their answer reveals experience level as much as their price does.
Experienced contractors anticipate common failure points (e.g., galvanized pipes in older homes, knob-and-tube wiring, sagging joists) and factor them into their risk assessment - inexperienced ones often don't.
Step 2: Map the Work Sequence Zone by Zone
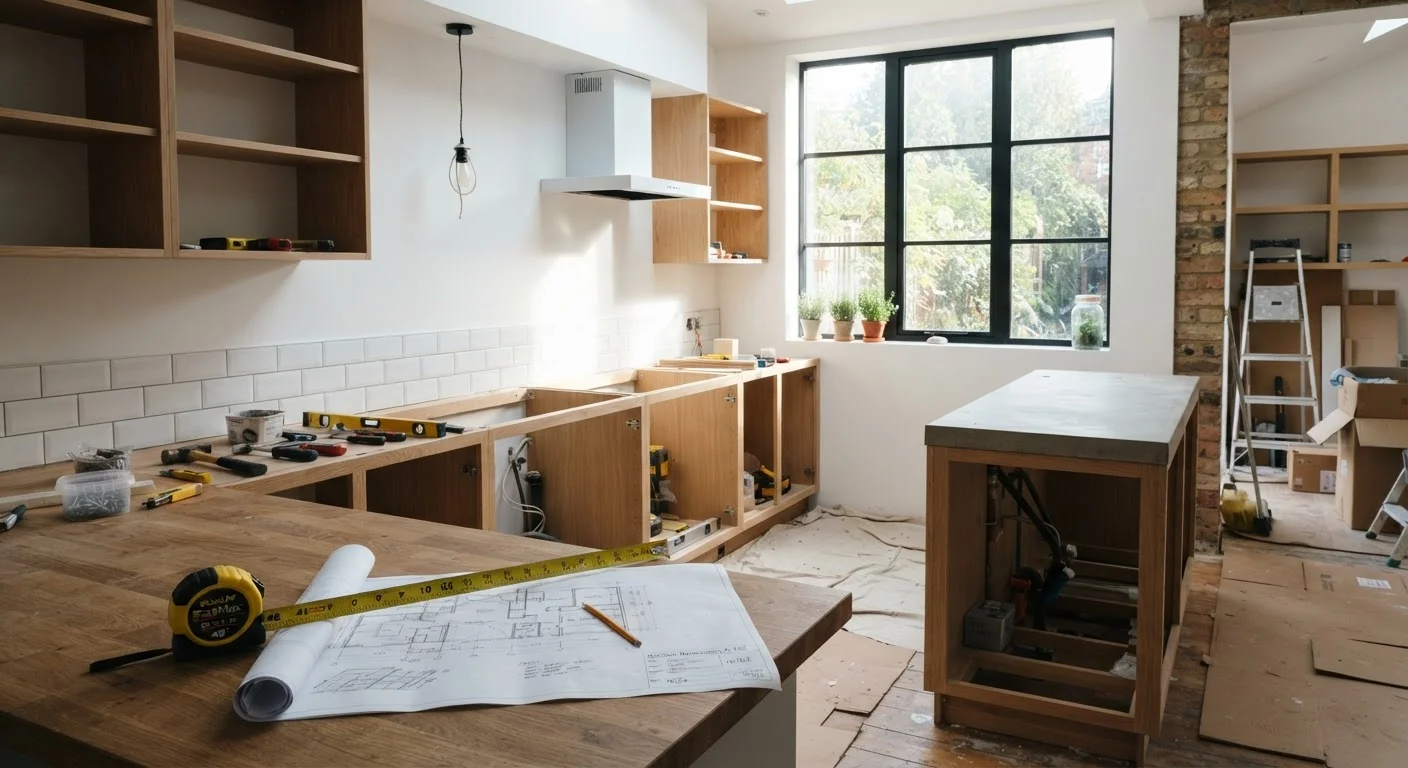
Once scope is defined, sequence is everything. Kitchen work should proceed from rough (hidden, structural) to finish (visible, surface) - never the reverse.
Correct Sequence
- Demolition: Remove what's being replaced. Reveal what's behind walls and under floors before committing to a finish plan.
- Structural work: Any load-bearing modifications, wall removal, or subfloor repair. This work requires inspection before it is closed in.
- Rough mechanical: Plumbing rough-in, electrical rough-in, HVAC duct work. These are inspected before walls are closed.
- Insulation and drywall: Only after rough mechanicals pass inspection.
- Cabinets and major fixtures: Set after walls are finished but before countertops are measured.
- Countertop templating and installation: Countertops are measured to the installed cabinets - not the other way around.
- Appliance installation: Final connections made after countertops are in.
- Finish electrical and plumbing: Outlets, switches, faucet trim, and fixture connections happen last.
- Tile, flooring, paint, and trim: Finish surfaces applied after everything that could damage them is complete.
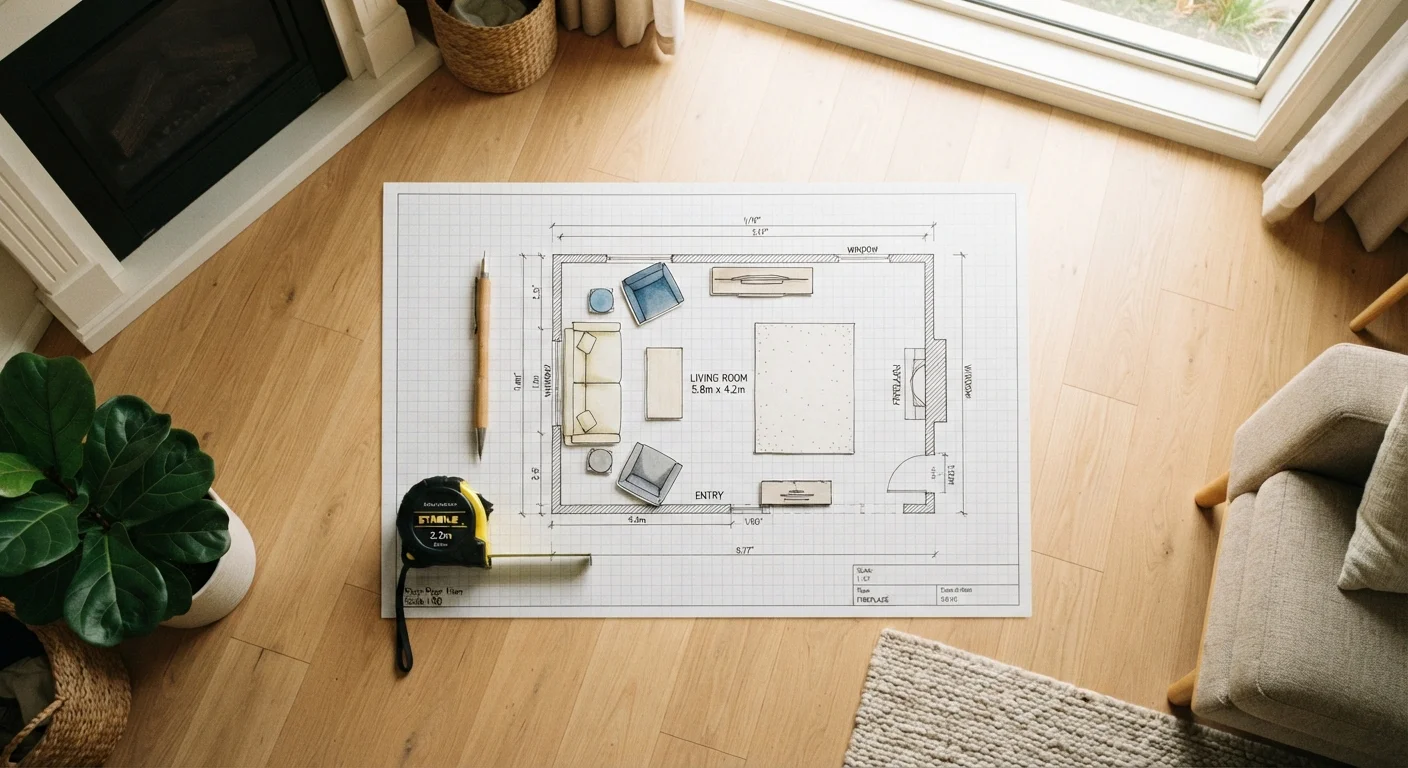
If you're unsure how a layout change will affect traffic flow or daily function, our furniture layout planning guide explains measurement and planning techniques that translate well to kitchen reconfiguration before committing to any physical changes.
Never Order Countertops Before Cabinets Are Installed
Countertop fabricators require a template of the actual installed cabinets - not the cabinet spec sheet or a floor plan measurement. Ordering based on drawings almost always results in a poor fit. Schedule your countertop templating appointment only after cabinets are fully set and shimmed level.
Step 3: Build a Realistic Budget with Contingency
Kitchen renovation costs vary widely based on square footage, material selections, labor markets, and what's discovered once walls are opened. General financial education - not a guarantee - suggests that mid-range full kitchen renovations commonly represent one of the larger home improvement expenditures homeowners undertake. Costs depend heavily on your region and specific choices.
Budget Construction Approach
- Obtain at least three itemized contractor quotes for each trade (plumber, electrician, general contractor).
- Separate hard costs (materials) from soft costs (labor, permits, design fees, temporary kitchen setup).
- Add a minimum 15-20% contingency line above your total estimate. Hidden conditions - water damage, outdated wiring, deteriorated subfloor - are common once demolition begins.
- Prioritize spending on items that affect function and longevity (waterproofing, mechanical upgrades, quality rough work) over purely decorative finishes.
For broader guidance on structuring a major home project into your overall financial picture, the budgeting basics hub provides practical frameworks. This article is for informational purposes only and does not constitute financial advice; consult a qualified professional for guidance specific to your situation.
Step 4: Permits, Codes, and When to Call a Pro
Unpermitted work can complicate home sales, void homeowner's insurance coverage, and create genuine safety hazards. In most U.S. jurisdictions, the following kitchen work typically requires a permit:
- Electrical panel upgrades or new circuit installation
- Plumbing line relocation or new drain and vent work
- Gas line work of any kind
- Structural wall removal or modification
- Changes to mechanical ventilation or ductwork that affects conditioned space
Requirements vary by municipality - always contact your local building department before beginning work. Unpermitted work discovered during a later inspection may require opening finished walls for re-inspection.
Gas and Electrical Work Requires Licensed Professionals
In virtually every U.S. jurisdiction, gas line work and new electrical circuit installation must be performed by a licensed professional and inspected before walls are closed. Attempting this work without a license and permit is illegal in most states, creates serious safety hazards, and can void homeowner's insurance. Do not treat these as DIY tasks regardless of experience level.
For context on how this decision-making process compares to smaller-scale projects, see our bathroom renovation vs. cosmetic refresh breakdown, which covers similar scope and permit questions in a comparable space.
Keeping the Project on Track
Even a well-planned kitchen renovation requires active management once work begins. A few practices help maintain momentum and reduce conflict:
- Document existing conditions before demolition: Photograph inside walls and under floors the moment they're opened. This provides evidence if disputes arise and helps identify unexpected conditions early.
- Set a decision deadline calendar: Every material selection - tile, countertop, faucet - has a lead time. Work backward from your target completion date and assign order deadlines to avoid delays.
- Establish a temporary kitchen: A folding table, microwave, toaster oven, and countertop burner in an adjacent room significantly reduces the daily stress of a disrupted kitchen - especially for projects lasting more than two weeks.
- Hold weekly check-ins with your contractor: Brief standing meetings keep both parties aligned on sequencing, upcoming decisions, and any conditions that affect the schedule.
Once the renovation is complete, maintaining an organized, functional kitchen is its own discipline. Our seasonal home refresh checklist offers a practical maintenance rhythm that helps protect your investment across every season.
This article is for general informational and educational purposes only. It does not constitute financial, legal, or professional contracting advice. Always consult licensed professionals for electrical, plumbing, gas, and structural work, and verify permit requirements with your local building department before beginning any renovation project.