Why Planning Beats Guessing Every Time
Most furniture rearrangements go wrong the same way: someone moves the sofa, decides it doesn't work, moves it back, tries the armchair in three spots, and gives up after two hours with a sore back and a room that looks the same as before. The problem isn't imagination - it's the absence of a plan.
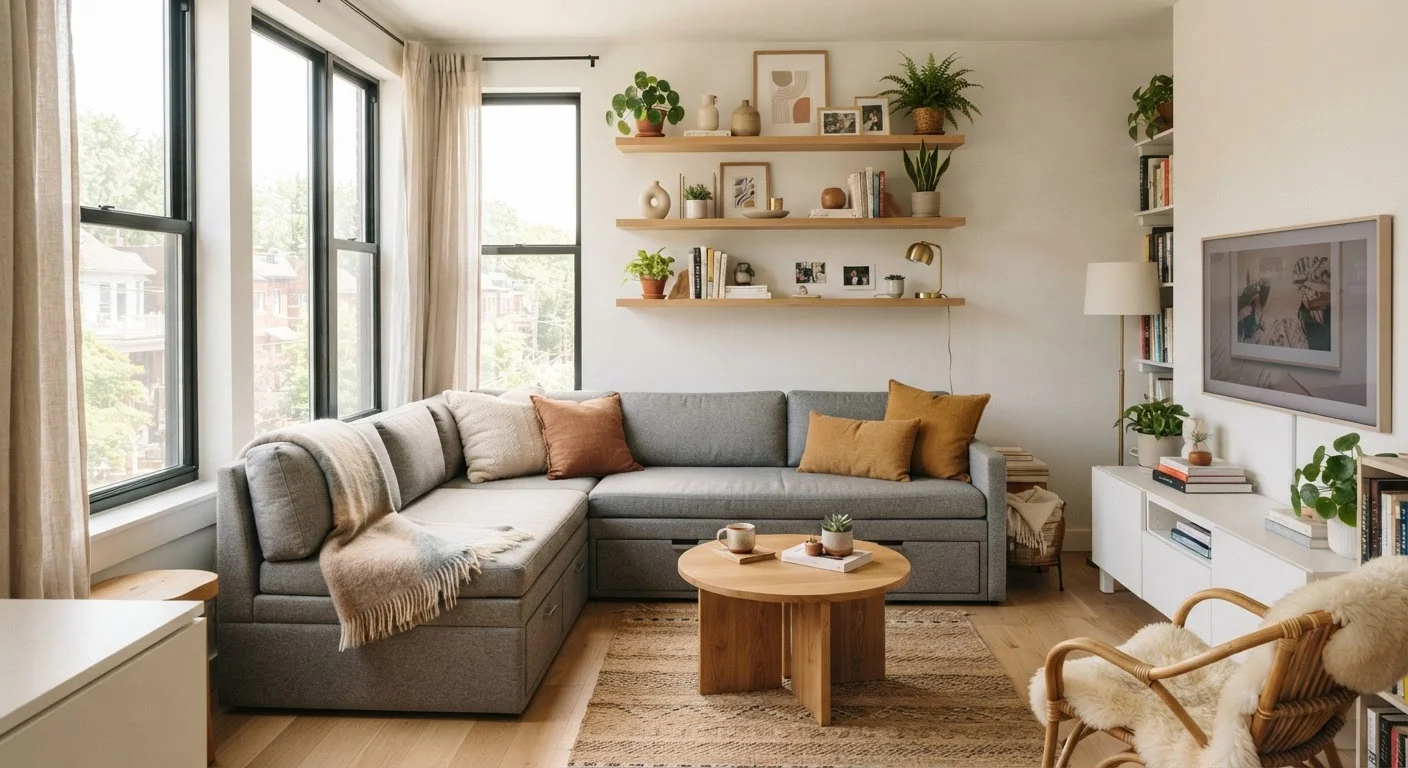
A scaled floor plan lets you run dozens of layout experiments in minutes rather than in muscle. You'll also catch deal-breakers early: the dresser that would block a closet door, the sectional that's two feet too long for the wall you had in mind, or the reading chair that would be perpetually backlit. For anyone living in a tighter space, this kind of intentional planning is especially valuable - see our small-space living guide for strategies that extend beyond furniture arrangement.
The approach below costs nothing but time and produces a result you've already visualized before a single piece leaves the floor.
What you will need
Tools You'll Need
The essentials are minimal. Most households already own a tape measure; graph paper is available at any office supply store for a few dollars. Digital alternatives are free and browser-based, requiring no download or account in many cases.
Tape measure
Accurately record room dimensions, window and door placements, and furniture sizes.
Graph paper (¼-inch scale)
Create a scaled floor plan where each square represents one square foot of real space.
Scissors and cardstock
Cut out scaled furniture shapes to move around on your floor plan without touching real pieces.
Digital room-planning app
Use free tools like Roomstyler or Floorplanner to build a virtual layout with drag-and-drop furniture.
Painter's tape
Mark furniture footprints on the actual floor to visualize scale before moving anything.
Rugs Anchor the Whole Plan
If you're placing or replacing an area rug, size it before finalizing your furniture layout - an undersized rug can make a well-arranged room feel disconnected. See how to size rugs correctly for any room to get proportions right from the start.
Step-by-Step: Plan Your New Layout
Work through these steps in order. Each one builds the information the next step requires - skipping ahead typically means backtracking.
Measure the room precisely
Start at one corner and measure each wall from corner to corner. Record the total length and width. Then measure and note the location of every door (including swing direction), window, electrical outlet, and fixed architectural feature like a fireplace or built-in shelf. These elements are non-negotiable anchors in your plan.
Measure every piece of furniture
Record the length, width, and height of each item you plan to keep in the room. Height matters for pieces near windows - a tall bookcase can block natural light or an exterior view. Write measurements directly on a rough sketch of each item so you have a quick reference sheet.
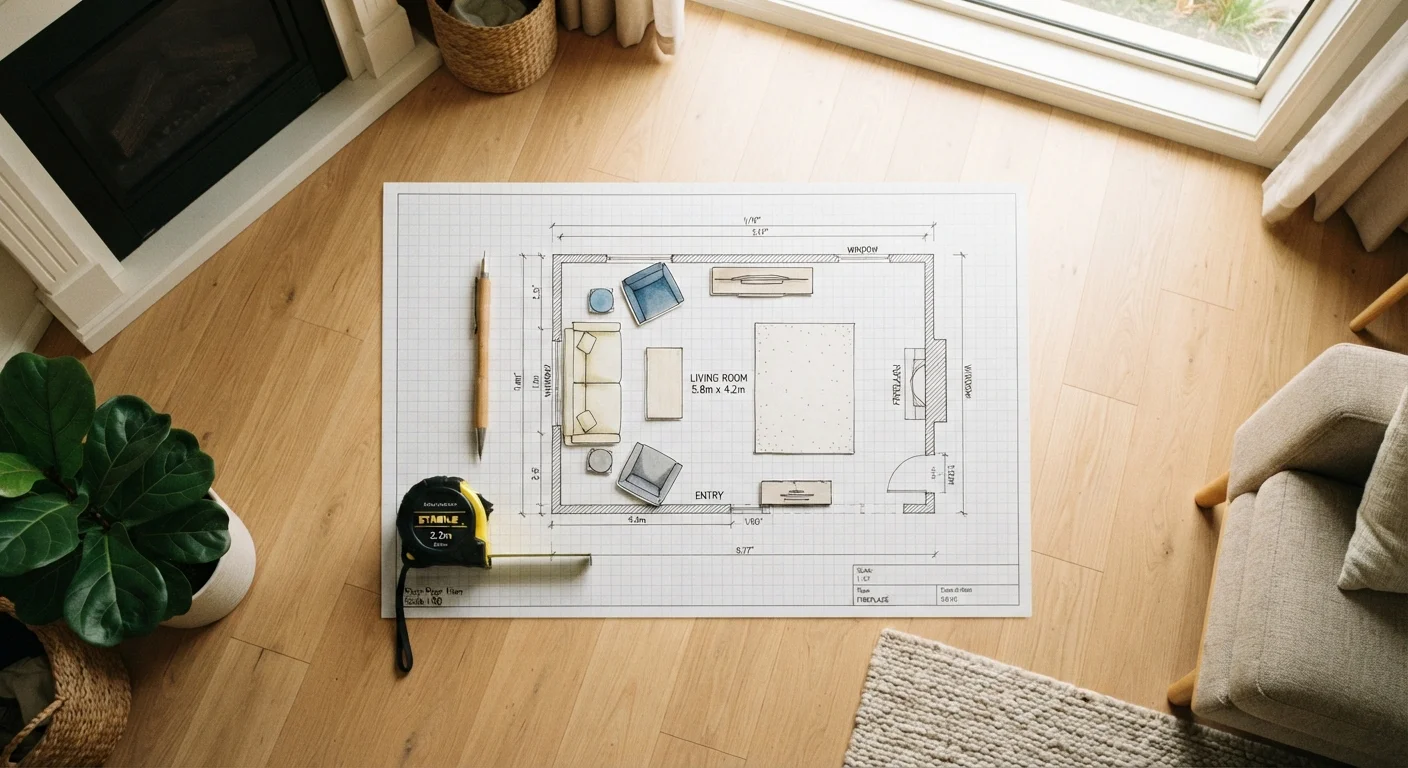
Draw a scaled floor plan
On graph paper, let each small square equal one square foot. Draw your room's perimeter, then mark all fixed features. This scale (1:12) keeps proportions honest. If you prefer digital, free tools like Floorplanner or Roomstyler let you input dimensions and drag in furniture models - useful if you find spatial visualization difficult on paper.
Create furniture cutouts or digital pieces
Cut scaled paper shapes for each furniture item - a sofa measuring 8×3 feet becomes an 8×3 square on your graph paper. Label each cutout. If you're working digitally, drag the corresponding models onto your floor plan. Now you can move pieces freely without bending your back or scraping hardwood floors.
Apply the three layout principles
Before shuffling cutouts randomly, anchor your thinking to three principles:
- Focal point first: Orient seating toward the room's dominant feature - a fireplace, a window with a view, or a media console.
- Traffic flow: Leave at least 36 inches for primary walkways (e.g., from a doorway to another room) and 18-24 inches between a coffee table and sofa.
- Natural light: Avoid placing tall furniture in front of windows; position reading chairs where daylight falls during your most-used hours.
Test your chosen layout with painter's tape
Once your paper or digital plan feels right, transfer it to the actual floor using painter's tape. Outline each furniture footprint on the floor and live with it for a day. Walk the paths, sit in the approximate spots, and check sightlines. This final check catches problems - like a chair that blocks a cabinet door - that are hard to spot on paper.
Move furniture only after confirming the plan
With your layout confirmed, move furniture in a deliberate sequence: clear the center of the room first, then move pieces one at a time into their new positions. Use furniture sliders under legs for heavy items - they glide on both hardwood and carpet and cost very little. Enlist a helper for anything heavier than you can safely manage alone.
Don't Skip Safety for Heavy Pieces
Bookcases, armoires, and large dressers can tip if moved improperly or left unstable in their new position. Once relocated, anchor tall freestanding furniture to the wall using anti-tip straps - particularly important in homes with children. If a piece requires disassembly to move safely, factor that time into your planning.
Getting the Most Out of Your New Arrangement
Once furniture is in its new position, give the room a few days before declaring it finished. Live in it - watch how you actually navigate the space, notice where light falls at different times of day, and pay attention to whether the arrangement supports how you use the room rather than just how it looks in a photo.
Furniture layout is one layer of a functional room. Storage, organization habits, and how you group objects all play equally important roles. Our room-by-room guide to functional home organization offers a practical framework for building on the foundation a good layout creates. If you have children sharing the space, thoughtful layout choices become even more consequential - traffic flow and furniture placement directly affect both safety and daily practicality.
Verify Clearances Before You Commit
A layout that looks spacious on paper can feel claustrophobic when furniture is in place. Standard ergonomic clearances - 36 inches for walkways, 18 inches between a sofa and coffee table, 30-36 inches in front of dressers and cabinets - aren't arbitrary. They reflect how people actually move through and use a room. Confirm every clearance on your floor plan before the first piece moves.