
Why Automation Works for Personal Finance
Behavioral finance research consistently shows that people make better financial decisions when those decisions are removed from the daily temptation environment. When you have to actively transfer money to savings or make an extra debt payment, competing priorities — an unexpected expense, a sale, or simple fatigue — can quietly crowd out good intentions.
Automation sidesteps this friction entirely. By scheduling recurring transfers in advance, you treat saving and debt reduction as fixed obligations rather than discretionary acts. The money moves before you have a chance to redirect it. This is the same mechanism behind employer-sponsored retirement plans: contributions come out of each paycheck before you see them, which is a large reason participation rates are meaningfully higher than with voluntary, manual contributions.
This approach is a core principle explored in habits of consistent savers, and it scales whether you're putting aside $25 a month or $500. The amount matters less than the consistency the system creates.
Start Small, Then Scale Up
There's no minimum amount required for automation to be effective. Beginning with a transfer as small as $20 to savings establishes the habit and the system. Once the transfers feel invisible — meaning you've adjusted your spending to the lower available balance — increase the amount incrementally, such as with each raise or when a subscription is cancelled.
What You Need Before You Start
Before setting up any automated transfers, take stock of your current financial picture. You'll want a clear view of your take-home income, your fixed expenses, any minimum debt payments due, and the rough amount left over after those obligations are met. This doesn't require a formal budget, but having these numbers handy prevents you from over-automating and triggering overdrafts.
What you will need
If you're weighing how to split automation between saving and paying down debt, the article Saving While in Debt walks through the key trade-offs in more detail. For now, a reasonable starting point for most people is to ensure minimum debt payments are covered, then automate a modest savings amount, and only then layer in extra debt payoff transfers.
Online Banking Portal or Mobile App
Used to create and schedule recurring transfers between your own accounts.
Loan Servicer's Autopay Feature
Allows you to schedule recurring payments directly through your lender's website, often with a small interest-rate discount.
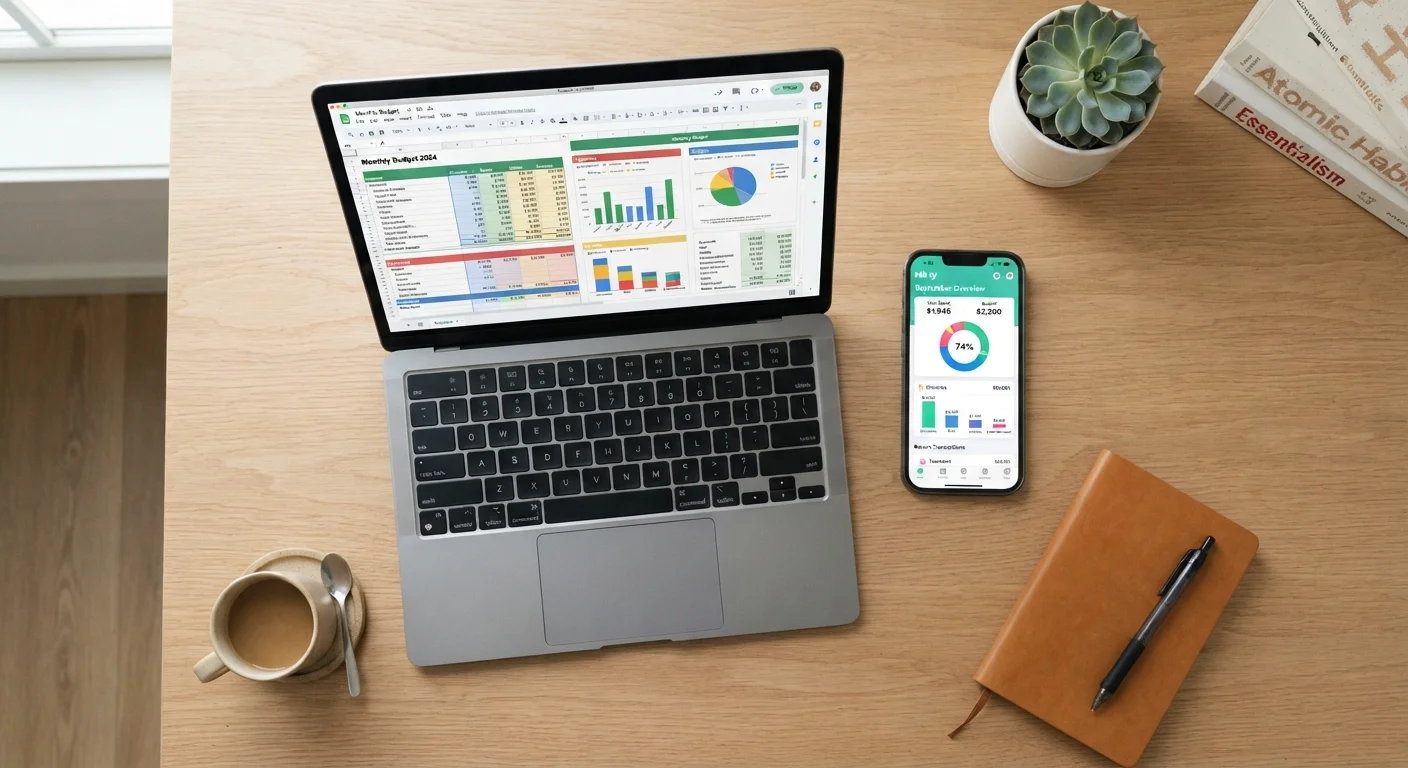
Budgeting Spreadsheet or App
Helps you calculate how much to automate without overdrawing your account.
Separate High-Yield Savings Account
Keeps automated savings physically separated from spending money, reducing the temptation to dip in.
Step-by-Step: Setting Up Your Automated Transfer System
The following steps walk you through building a practical automation framework. Each step takes only a few minutes to execute once you have your numbers ready.
Calculate Your Safe-to-Automate Amount
Subtract all fixed expenses and minimum debt payments from your monthly take-home pay. The remaining figure is your discretionary buffer. Start by automating no more than 50–70% of that buffer, keeping some cushion for irregular expenses. Even a small amount — say, $30 to savings and $25 extra to a debt — is a valid starting point.
Choose Your Transfer Dates Strategically
Set your automated transfers to trigger one to two business days after your paycheck is deposited. This ensures the funds are available and moves them before discretionary spending begins. If you're paid biweekly, consider splitting your savings and debt transfers across both pay periods to keep balances stable throughout the month.
Set Up Your Savings Transfer
Log in to your bank's online portal or mobile app. Navigate to the transfers section and create a recurring transfer from your checking account to your designated savings account. Enter the amount, select the frequency (weekly, biweekly, or monthly), and set the start date. Confirm the transfer and save the confirmation for your records.
Automate Your Minimum Debt Payments
Log in to each loan or credit card servicer's website and enroll in autopay for at least the minimum payment due. This protects your credit profile by ensuring you never miss a payment deadline. Confirm the payment source account, the amount, and the withdrawal date — typically a few days before the actual due date to allow for processing.
Add an Extra Debt Payoff Transfer
If your budget allows, schedule a second recurring payment to your highest-priority debt account beyond the minimum. Even an extra $25–$50 per month reduces the total interest paid over the loan's life. Route this as a separate recurring transfer or by increasing the autopay amount directly with your lender. Label or note which debt this targets so future reviews are straightforward.
Review and Adjust Every Six Months
Set a calendar reminder to audit your automation setup twice a year. Check that transfer amounts still reflect your current income and expenses, that savings goals are on track, and that debt balances have decreased as expected. When a debt is fully paid off, redirect that automated payment amount to savings or the next debt on your list rather than letting it dissolve into general spending.
Watch Your Account Balance After Launch
In the first one to two months after setting up automated transfers, monitor your checking account balance more frequently than usual. It takes a pay cycle or two to confirm that your calculations were accurate and that no transfer is landing at an awkward time. Adjust timing or amounts quickly if you notice your balance running uncomfortably low before your next paycheck.
Once your automation is running, your budgeting tool — whether a spreadsheet or an app — should reflect the new fixed outflows. If you're deciding between those options, Spreadsheet Budgeting vs. Budgeting Apps covers the genuine trade-offs of each approach.
For the debt payoff portion of your automation, it helps to have a clear strategy in place. The debt avalanche vs. debt snowball framework explains how to sequence extra payments across multiple balances for maximum efficiency or motivation. Once you've settled on a method, your automated extra payment simply routes to the target account each cycle. When your debts are cleared, those same transfer slots can be redirected toward investing — a natural next step covered in the Investing Essentials hub.
This article is for general informational and educational purposes only and does not constitute personalized financial, tax, or legal advice. Consult a qualified financial professional before making decisions about your specific financial situation.