Why First-Day Setup Decisions Matter
Most people rush through a new phone's setup screens, tapping "Next" until they reach the home screen. That habit costs them later — in battery life, security gaps, and apps that quietly access more than they should. The decisions you make in the first hour of owning a device set the defaults that govern everything afterward.
This guide walks you through setup in the right order, with context for why each step matters. It also pairs well with our guide on what drains smartphone batteries, since several first-day settings directly affect how long your charge lasts.
What you will need
The Setup Steps, in Order
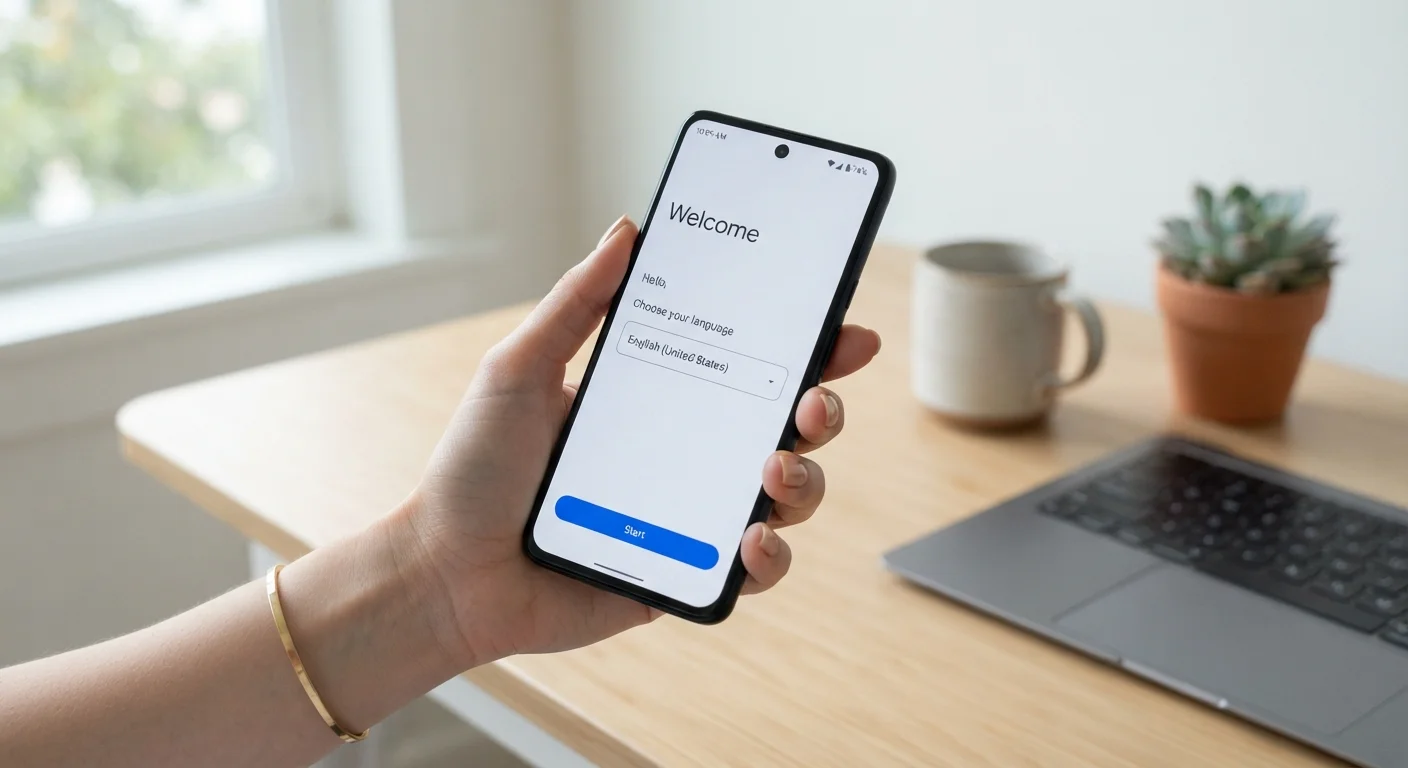
Follow these steps during your initial device configuration. Some appear as part of the out-of-box setup wizard; others require navigating to the Settings app yourself.
Set Up a Strong Lock Screen
Before entering any account credentials, configure your lock screen security. Go to Settings > Security (Android) or Settings > Face ID & Passcode (iOS) and choose one of the following:
- Alphanumeric password — strongest option
- Six-digit PIN — a reasonable balance of security and convenience
- Biometrics (fingerprint or face unlock) — fast, but always pair with a PIN as a fallback
Avoid four-digit PINs and swipe patterns, which are significantly easier to guess or observe.
Sign In to Your Platform Account and Restore a Backup
Enter your Apple ID or Google account credentials when prompted during setup. If you have a recent backup from your previous device, select it when the restore option appears. Allow the restore to complete before proceeding — this can take 10–20 minutes depending on backup size and connection speed.
If you're setting up a device from scratch with no prior backup, skip the restore and continue to the next step.
Review and Tighten App Permissions
After setup completes, go to Settings > Privacy and review what each category — Location, Microphone, Camera, Contacts, Photos — has been granted access to. For any app where access is not clearly necessary:
- Switch location access to While Using rather than Always
- Revoke microphone or camera access from apps that have no obvious need for it
- Set photo access to Selected Photos where the option exists
Configure Display and Battery Settings
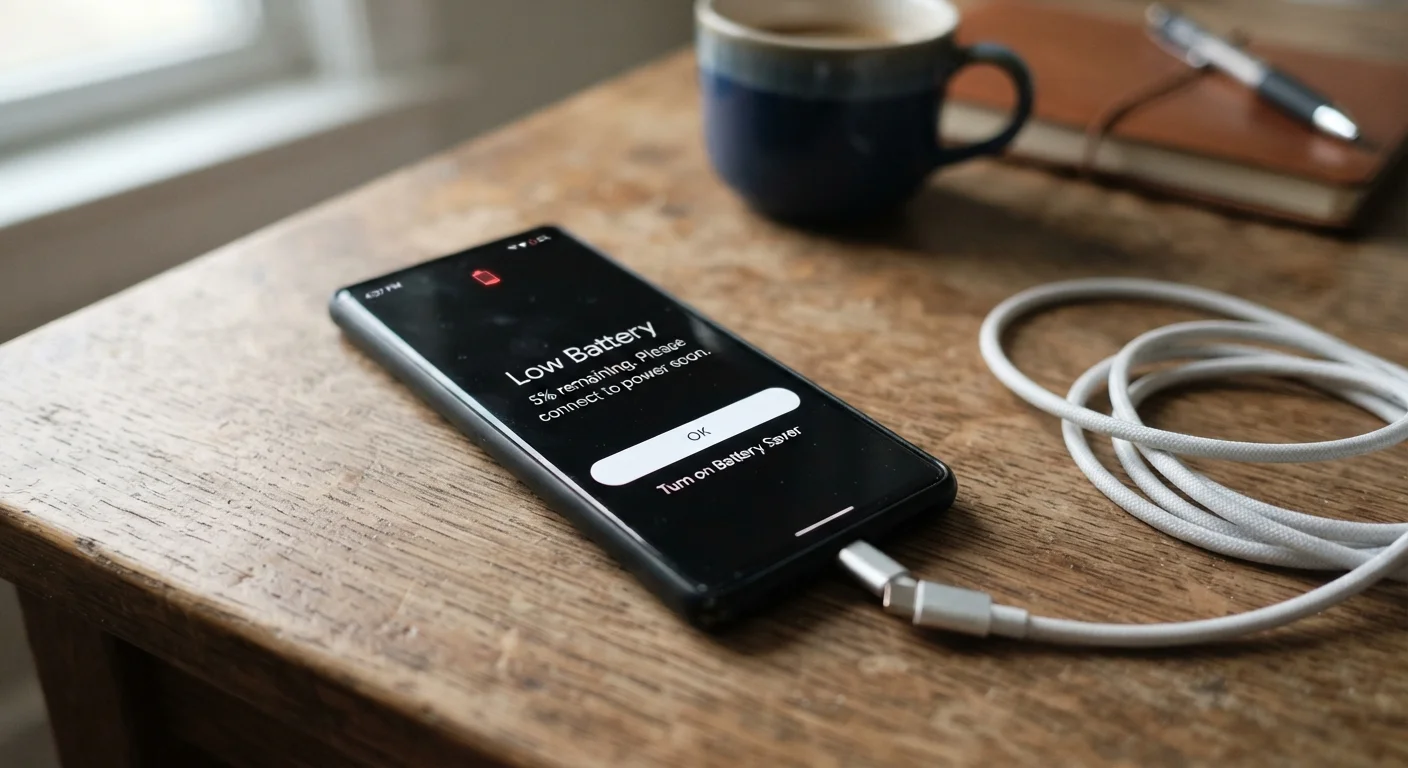
Two settings have an outsized effect on daily battery life and are easy to optimize upfront:
- Screen brightness — enable adaptive or auto-brightness rather than leaving it pinned to maximum
- Screen timeout — set to 30–60 seconds of inactivity so the screen doesn't stay on unnecessarily
If your device supports an always-on display, consider whether you actually use it — it consumes battery continuously. On Android, also check Settings > Battery > Battery Saver and set a threshold that activates it automatically.
Enable Automatic OS and App Updates
Security patches are delivered through software updates. Devices that fall behind on updates are exposed to known vulnerabilities. Enable automatic updates for both the operating system and installed apps:
- iOS: Settings > General > Software Update > Automatic Updates
- Android: Settings > System > Software Update, and separately in the Play Store under Settings > Network Preferences > Auto-update apps
Do the Setup Over Wi-Fi, Not Mobile Data
Initial setup can involve downloading gigabytes of app data, OS updates, and backup files. Completing this over a cellular connection can exhaust a significant portion of a monthly data allowance. Connect to a home or trusted Wi-Fi network before beginning.
Account Sign-In and Data Migration
Signing into your Google or Apple ID account early in setup gives the device permission to restore your previous app library, contacts, and settings from a cloud backup. If you skip this step and install apps manually first, you may miss the automatic restore prompt and have to reconfigure everything by hand.
If you're moving data from an old device, use the manufacturer's official migration tool — both Android and iOS include a direct phone-to-phone transfer option that copies messages, photos, and app data over a local wireless connection. This is generally faster and more complete than restoring from a cloud backup alone.
Complete Migration Before Wiping Your Old Phone
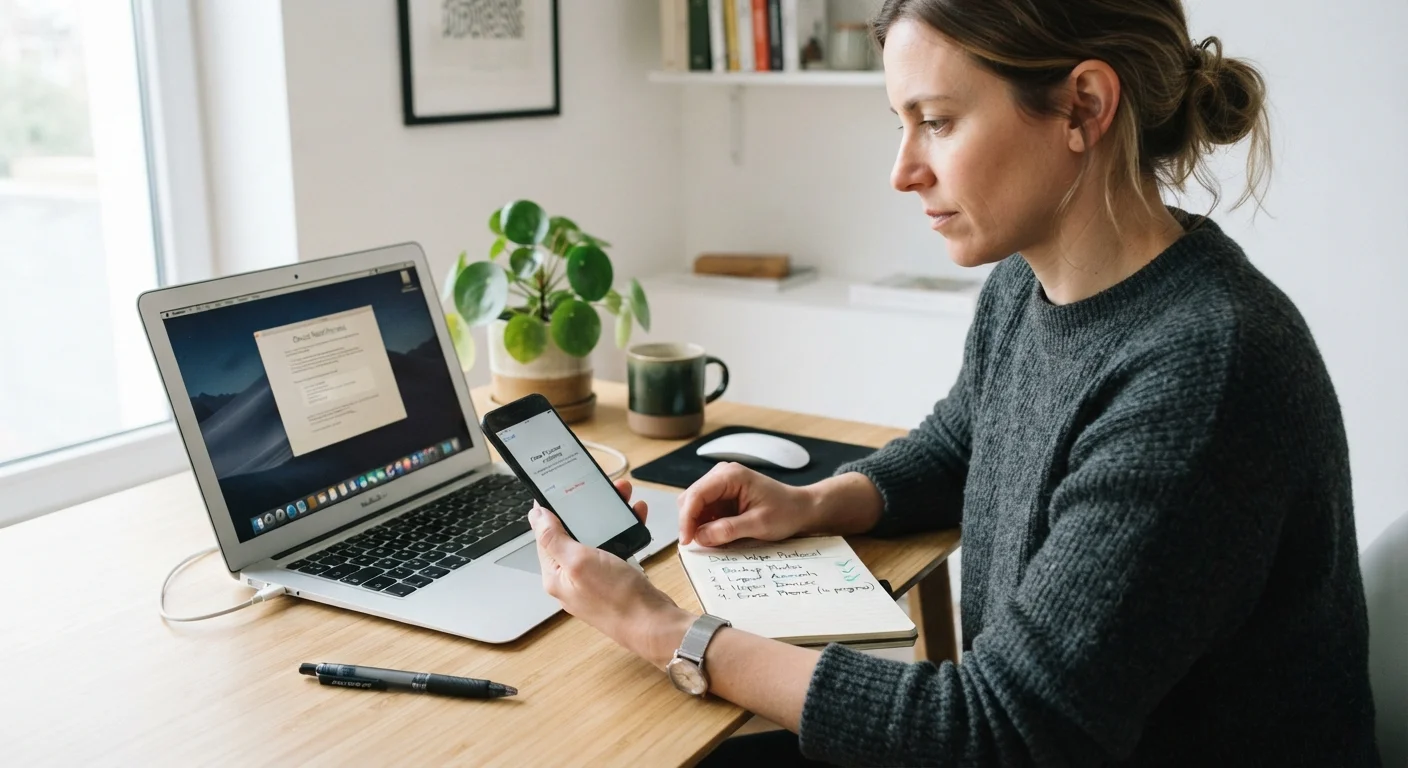
Do not factory reset or sell your old device until you have confirmed that all contacts, photos, and important data have transferred successfully to the new one. Verify a few key items — a contact, a photo, a note — rather than assuming the backup was complete. Once an old device is wiped, recovery of missed data is generally not possible.
Before your old device leaves your possession, make sure you've signed out of accounts and wiped it properly. Our checklist for selling or recycling an old device covers every step to protect your personal data.
Carrier Pre-Installed Apps May Request Broad Permissions
Many phones sold through carriers arrive with pre-installed apps that automatically receive certain permissions. Review these specifically during your permission audit — it is generally safe to revoke location and microphone access from carrier bloatware you don't intend to use.